5 Tips How to Use Photographs Correctly in Video Editing
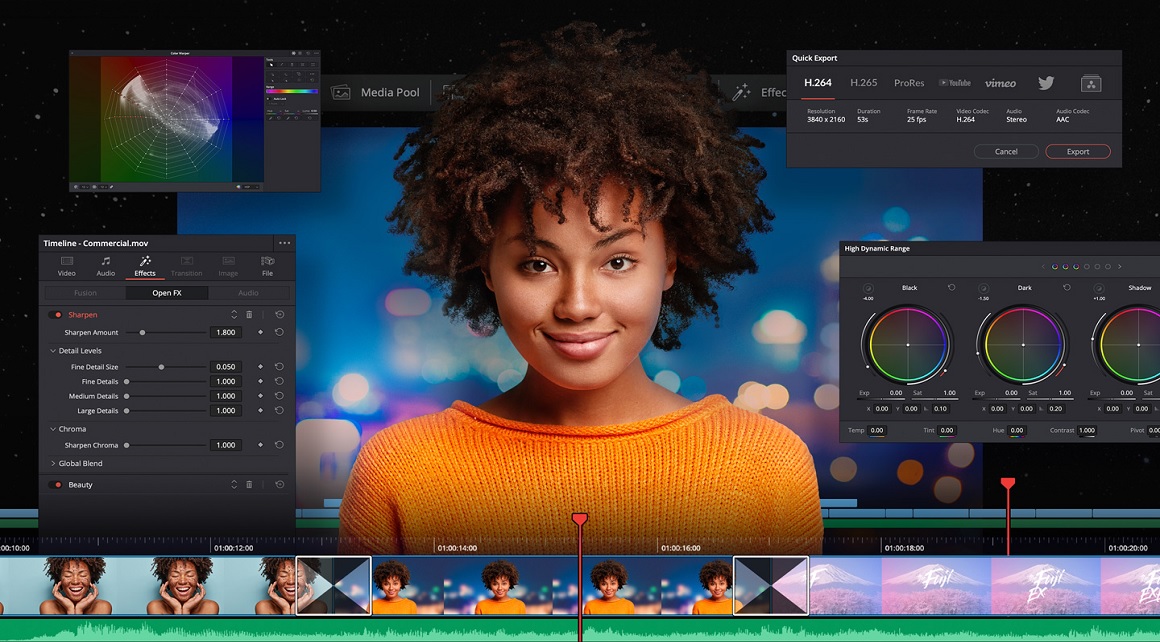
Now that you have collected the best YouTube video ideas for beginners, you want to add some photographs correctly. Understanding how to include photographs in video editing is key to effectively creating a well-produced and visually appealing film. The point of using pictures within a video is not just to add visual stimulation but also to support the information being communicated, making it easier for viewers to understand what’s happening in your story better.
For entrepreneurs looking to start an online business successfully, video marketing is an easy and effective way to drive traffic, build community, and rank higher on search engines. Along with resources from OnlineBiz Booster, video content allows you to connect with your target audience by tapping into their emotions, which makes them more likely to buy your products or services.
Video software such as VideoStudio has many benefits for business owners, including saving time, increasing sales, and building trustworthiness. For some businesses, especially those that are new or sell products that are hard to explain with text content alone, video can be a great tool that enhances your website traffic and helps bring in revenue for years down the road.
The following tips will help you use them correctly in video editing to express your message or evoke an emotional response from viewers.
Table of Contents
Crop an Image to Get the Ideal Scene
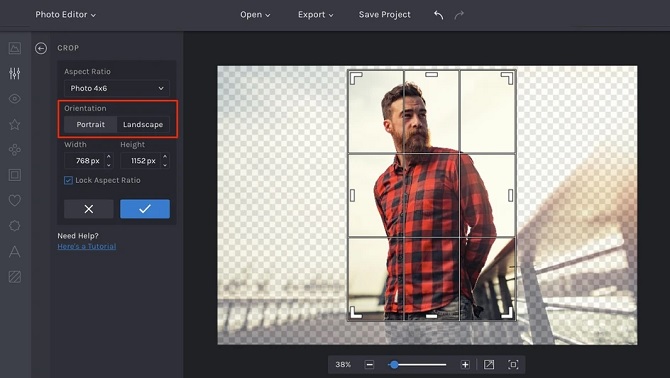
You must reduce the chosen image to the desired size and angle. This will ensure it is relevant and interesting so audiences will enjoy viewing and listening to your video more.
Cropping is one of the most important things to consider when using photographs in video editing, as it ensures that viewers are focused on what matters. To start, photos should never have any distractions around them – anything that’s not relevant should be cut out. For example, if you’re using a photograph showing a park bench at the edge of a grassy lawn, don’t zoom into detail with the bench or grass unless they’re part of your story. It doesn’t matter if the rest of it may seem interesting because you want to make sure everybody focuses on what’s essential.
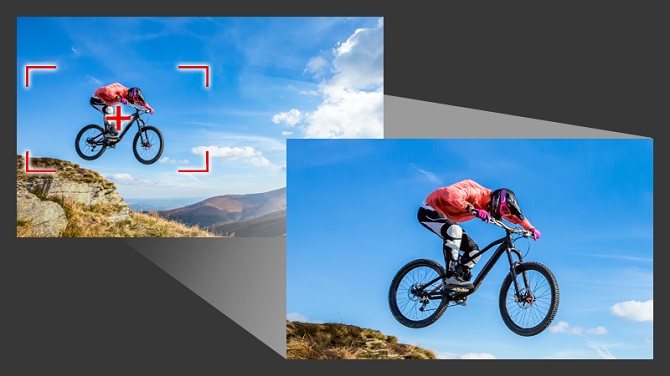
Place Photos in Landscape Orientation Instead of Portrait
When taking and editing photographs, remember that it’s best to shoot them in landscape or horizontal orientation. If you’ve ever tried to watch a video with your phone held vertically, you know how much harder it is for people to follow along as every scene appears as one long column of content. This problem also occurs on TV if you’re trying to portray important parts of an event by showing audiences stills from different angles.
Choose the Right Scene

When using the images, make sure you choose ones relevant to your video ideas or the project’s essence. Also, remember not to overdo it with too many shots at once. This can confuse viewers who may mistake what they’re looking at and lose interest in your whole production because it feels like they’re being forced to watch content that isn’t relevant or interesting anymore. You want people to watch this video, so do whatever you can to keep their attention long enough so they understand what’s going on.
Zoom and Pan Your Images
Zooming in on a subject is a great way to illustrate a point or highlight a certain part of your story, but be careful when using this technique because if you’re going too fast, it can be very disorienting for people to follow along. It’s best to take things slowly and try different speeds until you find one that has the right amount of impact without making viewers feel motion sick at the same time.
Panning an image makes it appear like it’s moving across the screen, adding another layer of depth to your work. However, don’t overdo this; otherwise, all you’ll do is make people dizzy.
Make a Grid of Your Photos
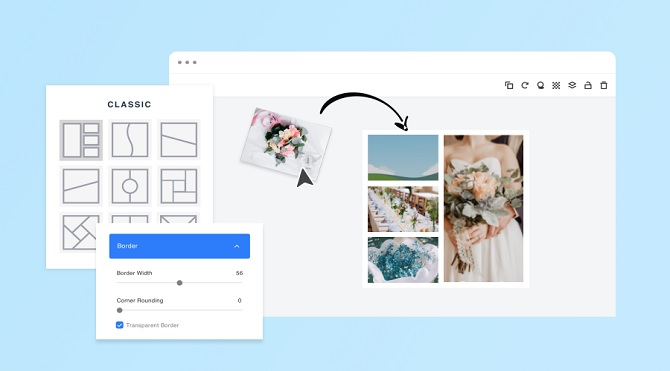
A grid is a great way to add another dimension to your work and make it more visually appealing for audiences to watch. The trick is not to make it too cluttered because this will confuse you, but don’t be afraid of adding a little flare by including touches of color or creative effects.
Using a photo grid is a great way to highlight your work or make a montage of images within a certain theme. You can do this directly in your video editor, but if you want things to look more appealing, it’s best to use an image editing software like Cyberlink and crop the photos so they fit together perfectly. It also helps when you place them side-by-side in squares instead of leaving little gaps between each one because people will see that you took the time to polish everything up and didn’t rush anything even though there are other options out there which lets viewers know how much effort you put into profiling yourself.
Conclusion
Via video editing, you get the opportunity to combine your creativity with innovative technologies, for instance, easily converting your Youtube videos to mp3 – which makes this job both challenging and rewarding at the same time. Your focus should always be on making and promoting high-quality content while staying within budget constraints for the project.
With a little creativity and some new video ideas, you can make your videos more compelling by integrating photographs. When it comes to video production, there are many ways to spice up the visuals with images – from shooting photos of props or people in action on location to creating visual overlays for titles and lower thirds that increase engagement. These tips should help you get started thinking about how you can improve your next video project with just one simple change – adding pictures!